
How to Install A Neon Sign?
Many customers ordered a neon sign from us and don't quite understand how to install it. Depending on various usage scenarios and purposes, there're different applicable options. This article will introduce common neon sign installation options and further explain how to practice.
There are 4 common methods to install a sign:
-
Mounting on wall by screws. (Drilling is required).
-
Hanging or suspending by wires. (Drilling is not required and easy to move around).
-
Sitting on table by a stand. (Drilling is not required and easy to move around).
-
Attaching to a surface by 3M strip. (Drilling is not required).
Outline
Tips for you before installation.
How to install a neon led sign by mounting screws?
How to install a neon led sign by by hanging wires?
How to make a neon led sign sitting on table?
How to temporarily fix neon led sign for an event without drilling?
How to hide neon led sign wires?
How to operate a neon led sign and control with remote?
Tips for you before installation.
1. Find a friend to assist especially when your sign is large.
2. Always hold your sign carefully in case of falling down.
3. Put your sign on safe place to avoid scratching or damage.
4. Take your sign by acrylic board instead of carrying the wires.
5. Please connect your sign to power only after installation.
How to install a neon led sign by mounting screws?
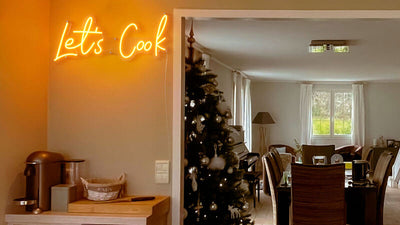
Mounting screws (our default option) is the most popular choice among installation options. It works great for surface installations such as walls and flower/grass backdrops. Please note, the surface must can be drilled. Once you installed your neon sign by mounting screws, you can't move it around easily and frequently. Suppose one day, you want to move it to another place, the old spot will leave holes.

1. Mark the spot.
Place your neon sign against the wall. Using a pencil, mark the spot through the holes on acrylic board.
2. Drill holes on wall.
Drill holes at each marked spot. Please drill slowly and steadily.
3. Fix screw nut into wall.
Put the wall anchor into the holes, then drill the screw through the hollow base and into the wall anchor.
4. Connect crew cup and screw nut tightly.
Put a cushion on the screw nut and then place your neon sign against it. Make sure the holes on acrylic board are on the right position to screw nut.
Put a cushion on acrylic backboard and connect crew up and screw nut tightly.
5. Plug in and enjoy your neon sign.
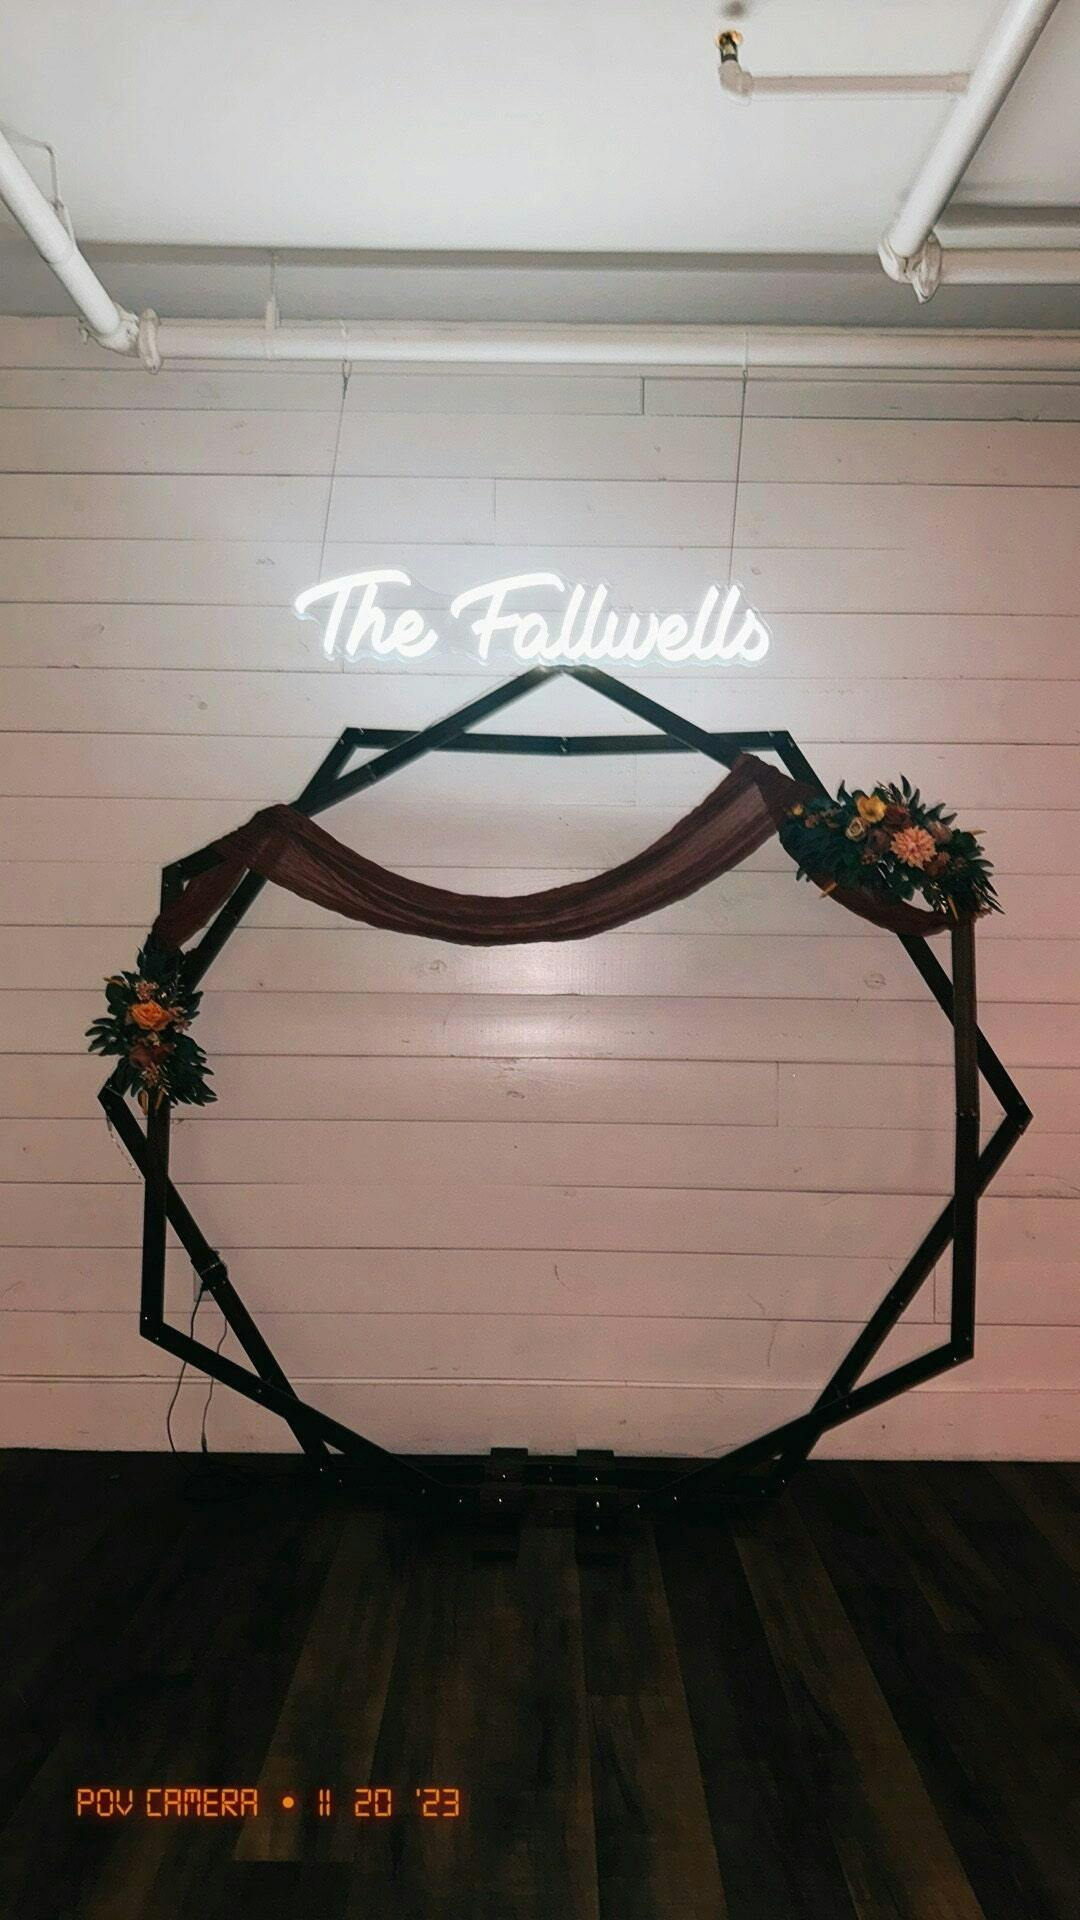
How to install a neon led sign by by hanging wires?
For those who buy a neon sign for front window, door, or need it suspend from archway, hanging wires plays a great part. It's very easy to install, you can do it on your own (but for large size, we recommend you to find someone to assist). Most importantly, you don't have to drill holes if you don't want to.
Just pass the wires through holes on acrylic board, and hang your neon sign the way you like.

How to make a neon led sign sitting on table?
With a stand to make the neon sign sit on table, you can move it around easily and frequently. This installation option works perfect for wedding reception table or bedroom desk. It's the simplest way to install a neon sign, just put your neon sign on a stand, check below pictures.

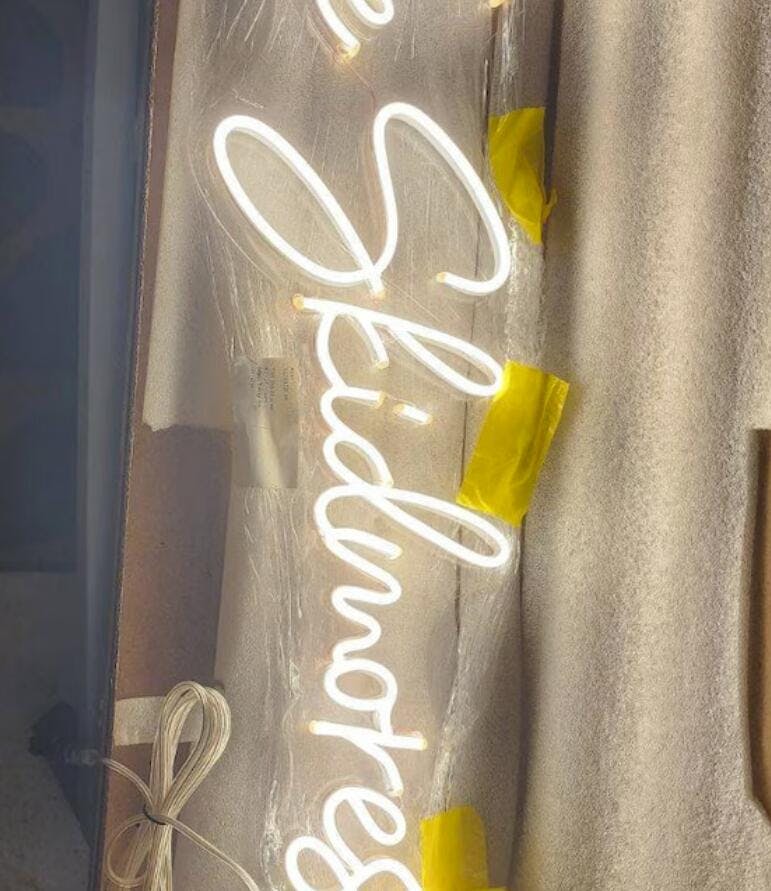
How to temporarily fix neon led sign for an event without drilling?
1. 3M strips
If you want to attach your neon sign to wall and don't want to leave holes on wall, here comes 3M strips.
-
Tear apart the strip and click together.
-
Remove one liner and stick it on the acrylic back.
-
Remove the remaining liner and press your neon sign against the wall.
-
Peel your neon sign off and press each strip firmly.
-
Wait 1 hour and realign you neon sign to the strips

2. Hanging wires
The hanging wires provided by CandyNeon doesn't require drilling. As previously mentioned in hanging wires part, pass the wires through holes on acrylic board and hang your neon sign the way you like.
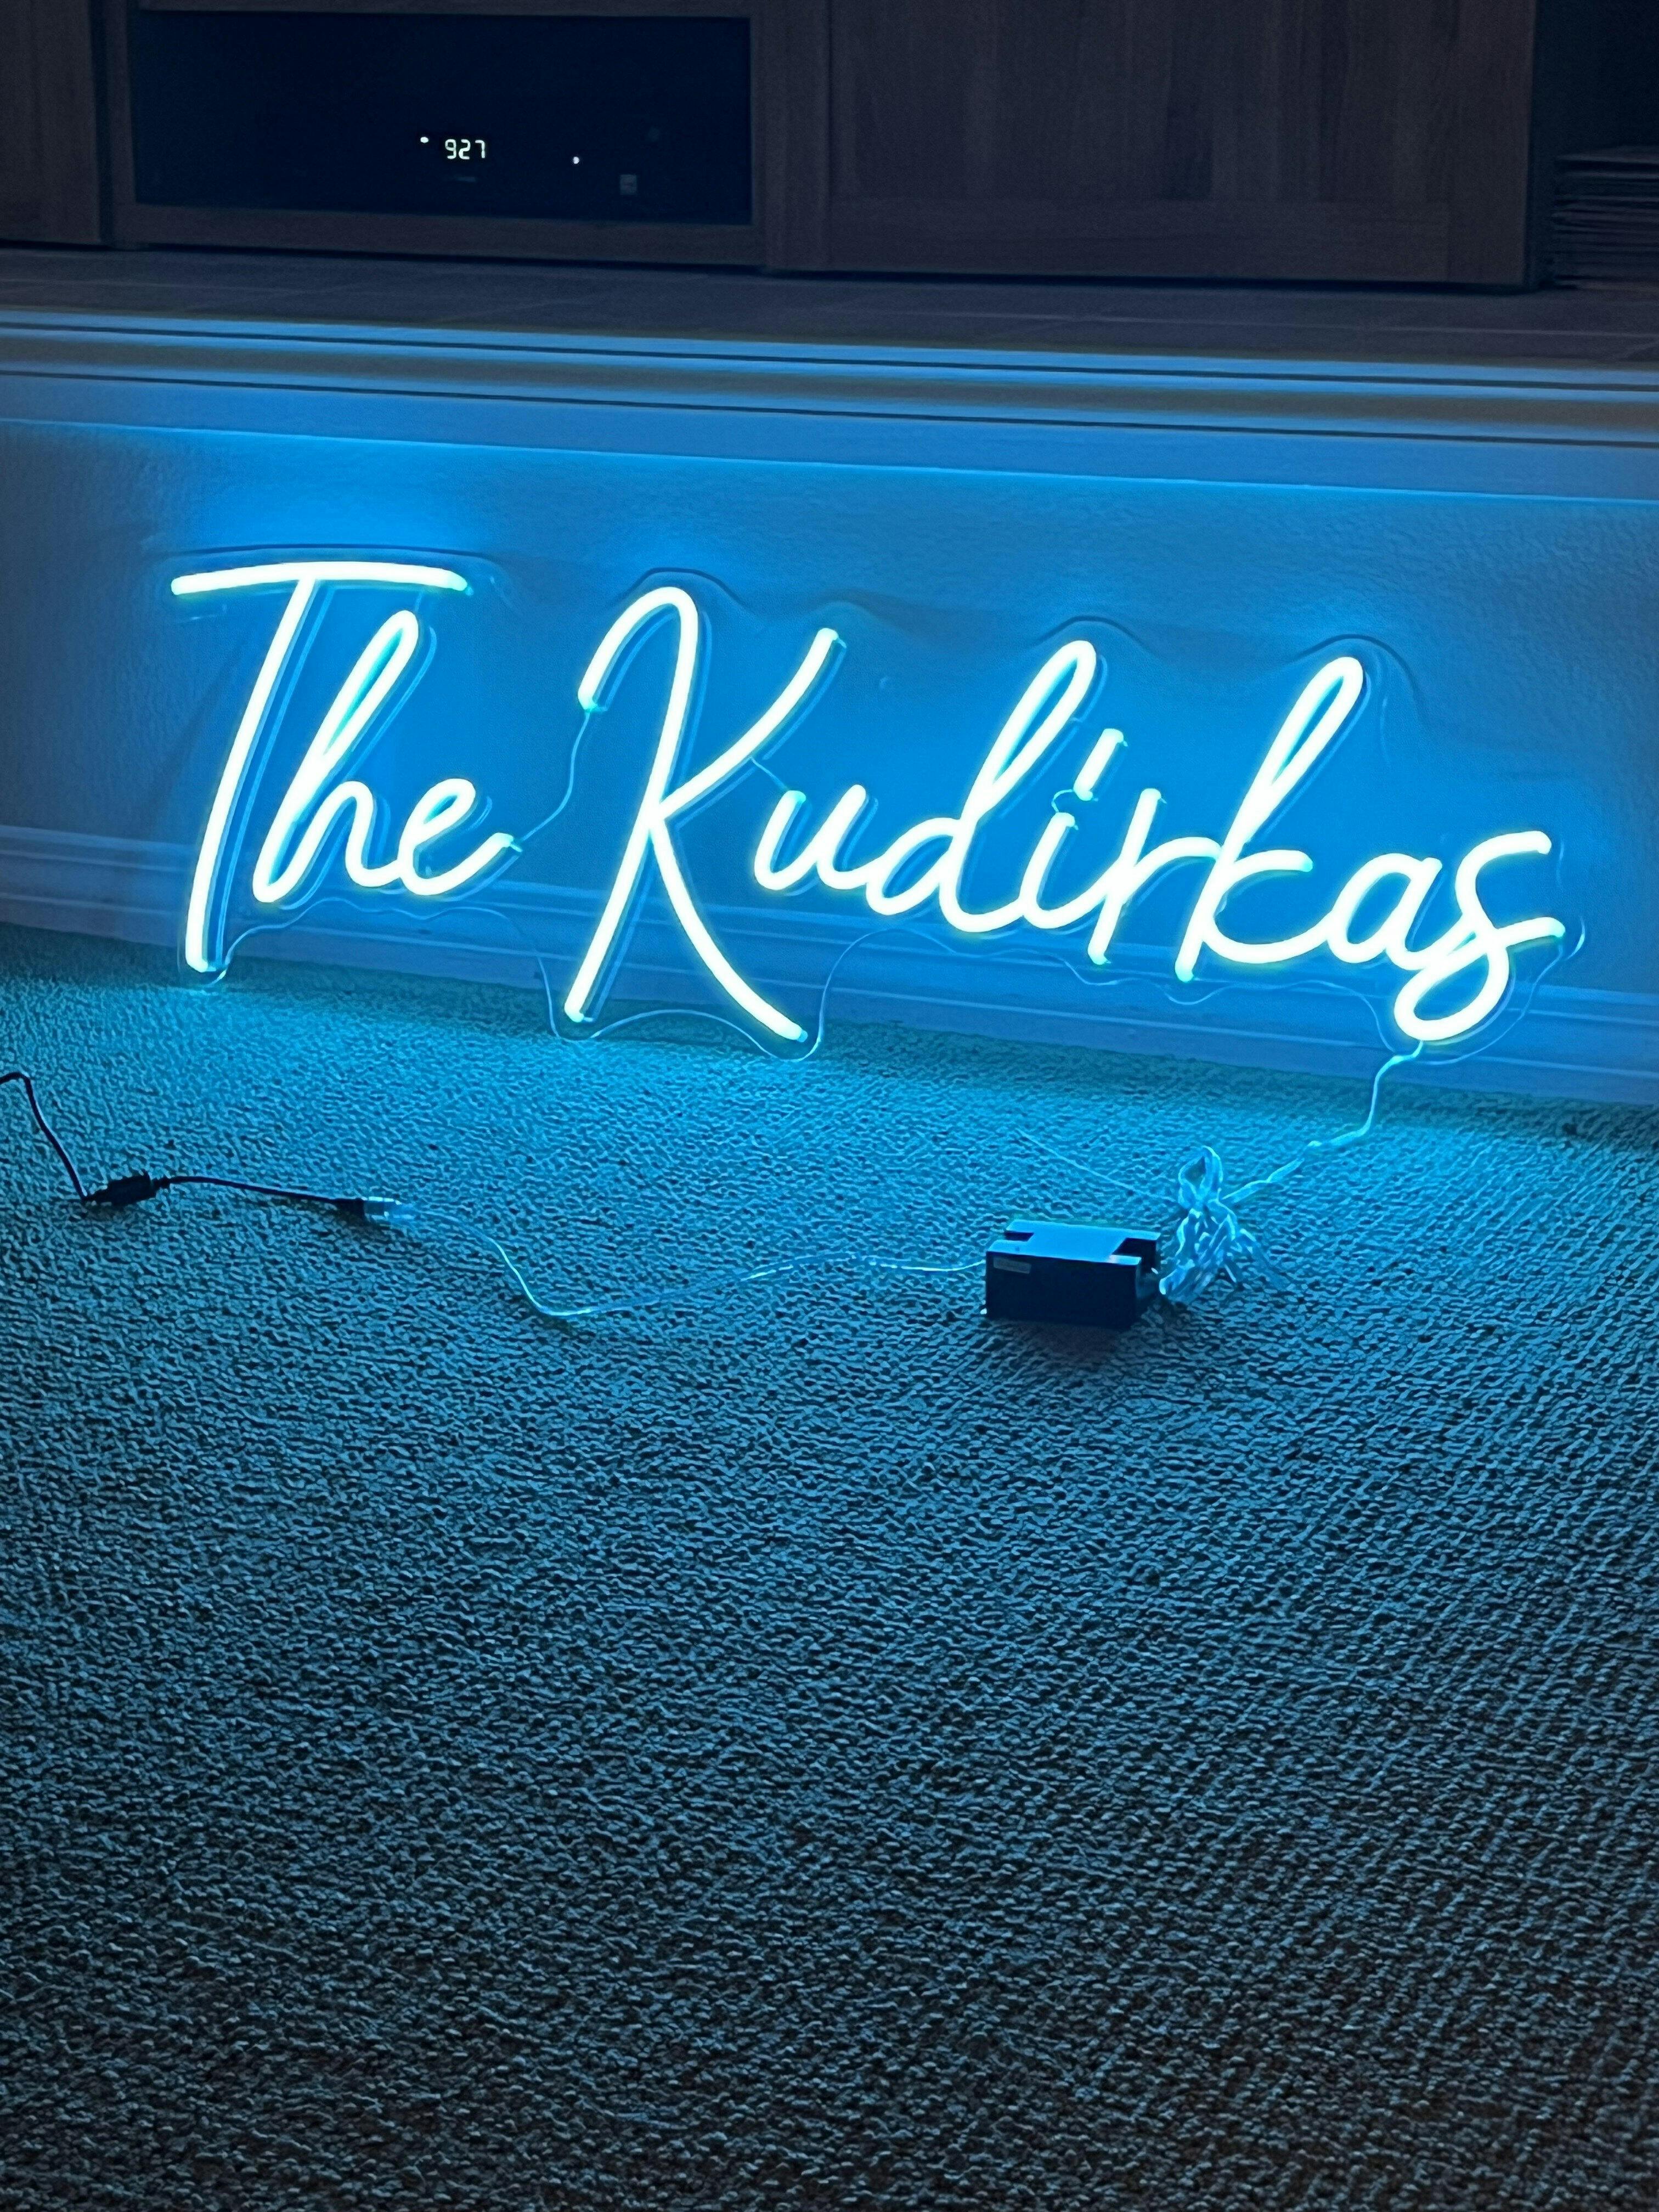
How to hide neon sign wires?
All the neon signs provided by CandyNeon are equipped with 2 meters of clear cable and 1.5 meters of plug adapter, which are required to power the neon sign. If you want to hide the wires, there are two methods.
1. Buying a neon sign with colored acrylic board.
CandyNeon offers black, white, gold mirror and silver mirror acrylic boards. With colored acrylic board, you can hide the wires behind.
2. Hard-wiring the cable into the wall
If you want to hard-wiring the cable into the wall, you will need an electrician to. By doing so, you won't be able to control light on/off/brightness/flashing by a remote, as the led controller won't response the remote through the wall. However, the electrician could connect your neon sign to a light switch for simply turning on/off.
How to operate a neon led sign and control with remote?
After installing your neon sign, you will need to connect your neon sign to power.

1. Make sure there's batteries in the remote.
2. Connect one side of led controller to the clear cable.
3. Connect the other side of led controller to the adapter
4. Control light on/off/brightness/flashing by remote.
No matter which installation option you choose, it's very easy to operate. So don't think neon sign installation is a tough job. You already have the product, you can simply install it the way you like. Above instructions are just advices. Many of our customers don't even use the provided accessories, they just install it in their own way.